Installing latest ImageMagick and Imagick on CentOS 6
Quick and easy and way to install ImageMagick and Imagick on CentOS 6.6 in 5 mins or less
This article was last updated on 2/16/2015.
The versions are as follows:
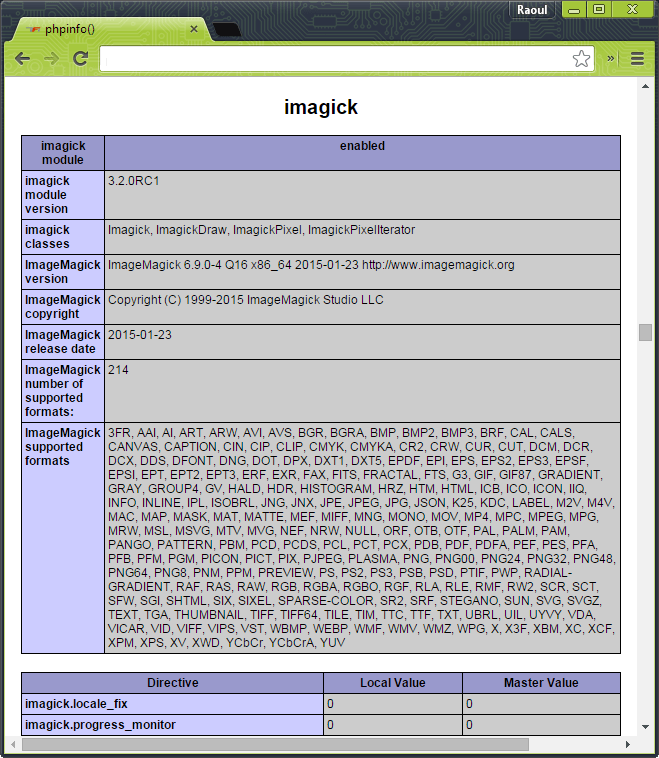
- ImageMagick 6.9.0-4 Q16 x86_64 2015-01-23
- Imagick-3.2.0RC1
First I recommend you enable the Remi repository is an amazing repository because it has the latest version of PHP and other software products.
If you want to permanently enable the Remi repository, you need to edit the yum configuration file for Remi. Open the repository configuration file by using a text editor of your choice: Edit the [remi] portion of the file to set the enabled option to 1. This action enables the Remi repository by default. Next, its time to install the latest version of ImageMagick from the Remi repository. This Development package includes a few things required for Imagick The current latest version of Imagick is3.2.0 from 2013. Latest versions can be downloaded from here Finally view your phpinfo to confirm that Imagick is enabled and working! For those unsure on how to create a phpinfo file. Create a file with the following code: <?php phpinfo(); ?>
# cd imagick-3.2.0RC1
# phpize
# ./configure
# make
# make install
Have something to add?